This guide helps keep your aquarium water clean and healthy. It shows how to clean filters without harming the good bacteria. This is key for a strong water quality in your freshwater tank.
Protecting the bio-media is important. It’s where the nitrogen cycle happens. This cycle turns ammonia into nitrate, thanks to healthy bacteria. We aim to clean out debris without harming these microbes.
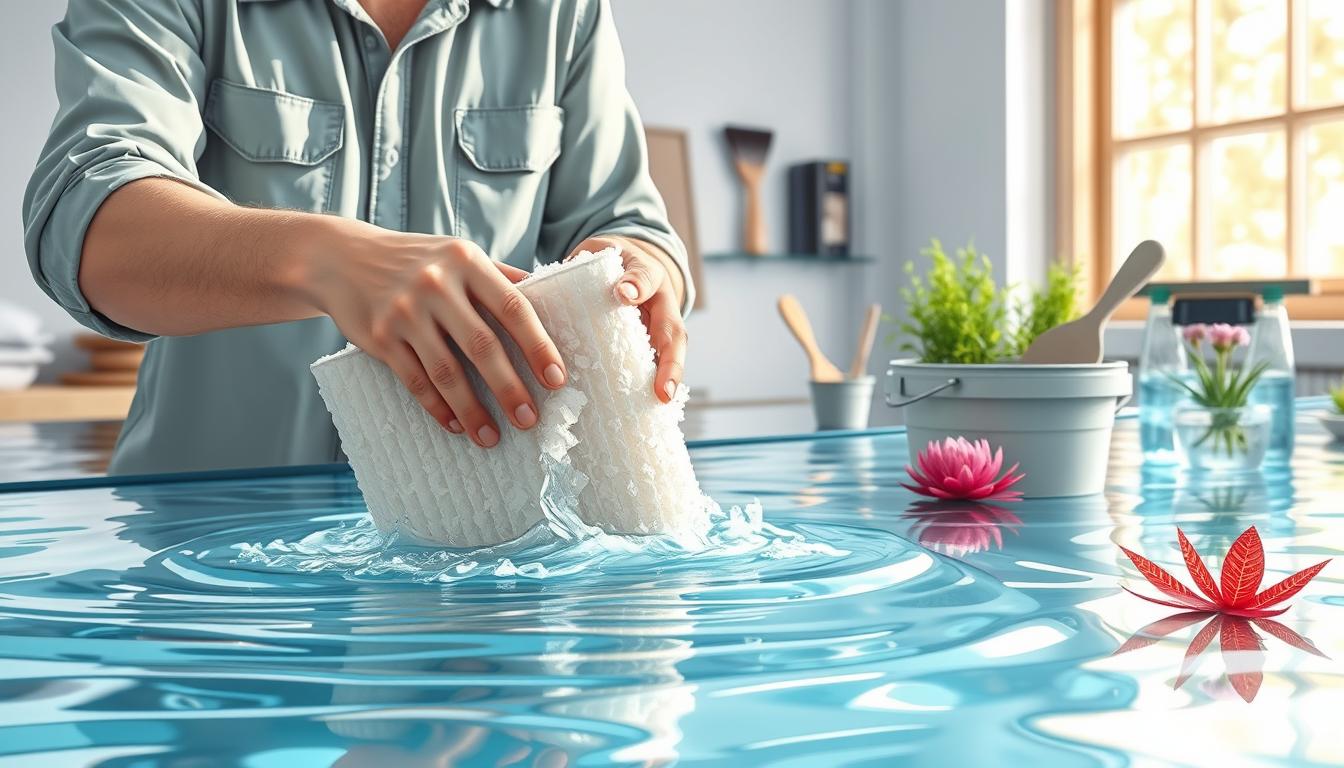
Here are some important tips. Use tank water for rinsing and clean one part at a time. Also, do partial water changes and plan your cleaning to avoid shocking the tank’s life.
Different filters need different cleaning schedules. For example, nano sponge filters might need cleaning every month. But larger canisters can go 3–6 months without a big clean.
After cleaning, you might see some cloudiness and a drop in water flow. But these issues usually clear up in a few hours. We’ll also share how to check your water’s health after cleaning.
Follow our easy steps to clean your filters right. And get some DIY tips to keep your tank’s bacteria healthy. This way, your aquarium will stay balanced and thriving.
Understanding the Importance of Filter Media

Your filter media does three important jobs. It traps visible debris, removes dissolved organics and odors, and provides a home for beneficial bacteria. This keeps your tank healthy.
Choosing the right filter media mix is key. Bio-rings and ceramic media offer lots of surface area for bacteria. Sponge media catches fine particles and supports beneficial bacteria. Filter floss catches small particles but has less space for bacteria.
Beneficial bacteria in filters are vital. They convert toxic ammonia into nitrite and then into nitrate. This prevents harmful buildup in your tank.
When you dry or rinse media with chlorinated water, you harm the bacteria. Always keep media wet and rinse in dechlorinated water. This preserves the bacterial populations and avoids sudden changes.
Replacing all media at once can upset the water balance. Instead, do partial replacements and stagger maintenance. This keeps the water stable.
Testing is critical after cleaning or media swaps. Check ammonia, nitrite, and nitrate levels regularly. Keeping records helps you spot issues early and protect your fish.
Types of Filter Media Available

When setting up or maintaining a filter, you have several options. Each type plays a specific role. This helps you choose the right media for your tank and cleaning schedule.
- Sponge filter media — catches debris and supports beneficial bacteria. It’s great as a pre-filter and easy to clean in tank water.
- Bio-rings and ceramic rings — offer lots of surface area for bacteria. Clean them gently in aquarium water to keep bacteria healthy.
- Filter floss and fine filter pads — trap small particles and improve water clarity. These are usually thrown away and replaced to avoid clogs.
- Activated carbon — removes odors, colors, and medicines. Change it monthly for the best results.
- Biological blocks and bio-balls — are for nitrifying bacteria in canister and sump systems. They increase surface area without blocking water flow.
- Mechanical pads and foam blocks — catch big debris first. Replace them when they wear out to avoid releasing fibers into the tank.
Choose media based on your filter type. HOB and canister systems use mechanical, biological, and chemical stages. Sponge filters offer both mechanical and biological action but lack chemical media.
Know when to replace each media. Filter floss and thin pads go in the trash when they get clogged. Sponges and ceramic media last longer but need replacing when damaged. When swapping out sponge or ceramic pieces, keep the old ones in the tank for a few weeks. This helps seed the new media with bacteria.
Each media needs different care. Some must be replaced, while others should be rinsed gently in tank water. Following these guidelines ensures your filter works well.
When to Clean Your Filter Media
Look for clear signs before starting. Signs like reduced flow, clogged intake, swollen media, and cloudy water mean it’s time to clean. These signs help you avoid stressing your fish and plants.
Set up a cleaning schedule based on your filter type. Nano sponge filters need cleaning about once a month. Larger canister filters can wait three to six months for a deep clean. Pre-filter sponges need more frequent checks and gentle rinsing.
Your tank’s conditions also play a role. High bioload, heavy feeding, and few live plants mean more frequent cleanings. But, low stocking and well-planted tanks can go longer without needing a clean.
- Keep a maintenance log to track your cleaning.
- Clean or replace only one filter or sponge at a time to keep beneficial bacteria.
- Avoid cleaning during big water changes or decor scrubbing to prevent losing bacteria.
Act fast to protect your water quality. If flow slows, cloudiness appears, or ammonia/nitrite spikes, check your pre-filters and sponges right away. Quick spot cleaning can prevent a big problem.
Follow the right steps when cleaning. Rinse media in tank water and rotate which pieces you clean. Avoid using tap water with chlorine, don’t clean all media at once, and don’t scrub biological media too hard. These steps keep your filter working well.
Plan a cleaning routine that fits your tank. Create a written schedule, note any special tank factors, and adjust as needed. This helps you know when to clean and keeps your aquarium healthy.
Safe Cleaning Methods for Filters
Always use aquarium water when cleaning filters. Rinsing biological and sponge media in tank water keeps beneficial bacteria alive. This is one of the best ways to keep water quality steady.
Make sure to keep bio-media wet between cleaning and putting it back in. Drying out sponge or ceramic rings can kill bacteria. This is a key step in cleaning filters without harming bacteria.
- Always unplug electrical equipment before cleaning filters. Follow the manufacturer’s instructions for canisters and HOB units to avoid spills and damage.
- Use tank water to rinse filters. Swish sponges and bio-rings in the water until debris loosens.
- Replace disposable floss and activated carbon regularly. These remove mechanical debris and toxins but need fresh replacement often.
For sponge filters, try a simple in-tank bag method. Place the sponge in a large Ziploc or fish bag underwater, lift it out and squeeze the sponge inside the bag several times using the tank water. Repeat until the squeezed water runs clear.
When working with HOB or canister filters, remove prefilter sponges and media as the unit’s guide instructs. Swish biological media in the bucket of siphoned tank water and clean housings with a toothbrush if needed.
Mechanical-only media can handle harsher cleaning. Outdoors, a high-pressure hose can clear coarse sponges, but avoid using it on biological sponges to protect beneficial bacteria.
If you must use tap water, check chlorine levels first. Some hobbyists briefly rinse sponges in sink water at tank temperature to reduce shock. But, tank water is safer when possible.
You can reuse bucket water on plants as fertilizer after cleaning. Refill the tank and expect brief cloudiness that should clear within a few hours when you follow these filter cleaning techniques.
Use these DIY filter cleaning tips as a routine. They help maintain beneficial bacteria, protect filter function, and keep your aquarium stable while you clean with care.
The Impact of Over-Cleaning
Over-cleaning means removing or replacing all filter media at once. It also includes rinsing sponges in chlorinated water, using soap, or letting media dry. These actions can destroy the beneficial nitrifying bacteria on your media.
The effects on your tank’s health are severe. Losing nitrifying bacteria can disrupt the nitrogen cycle. This can lead to sudden spikes in ammonia and nitrite, which are harmful to fish. You might see cloudy water, stressed fish, illness, or even death.
Replacing entire media packs can cause operational problems. The biological filtration needs time to rebuild. To avoid long outages, seed new media with a bit of old media. Or, keep an old cartridge or filter running for four to six weeks to give bacteria time to grow.
Plan your maintenance carefully to avoid combining big tasks. Don’t do full water changes, deep substrate cleaning, or heavy decoration scrubbing at the same time as filter work. Doing too much at once increases the risk to your fish.
- Clean only one sponge or media component at a time.
- Rotate which pieces you rinse so some bacterial colonies remain intact.
- Monitor ammonia and nitrite for several days after any filter work.
Never use soap, bleach, or other harsh chemicals on filter media. Also, avoid hot water that can kill bacteria. Following these filter cleaning dos and don’ts will help keep beneficial bacteria alive and prevent the dangers of over-cleaning.
Steps to Clean Your Filter Media
Here’s a simple guide to clean your filter. You’ll need a clean bucket, siphon, toothbrush, fish bag or Ziploc, towels, and a log. These tools make cleaning your filter easy.
-
Start by checking your system. Look at the flow rate and the intake sponge. Also, check for any cloudiness or brown gunk. Decide which media to clean first, starting with the prefilter sponge.
-
Next, turn off the unit. Unplug the filter and follow the manufacturer’s steps to avoid flooding when disconnecting hoses.
-
Now, remove the media carefully. Start with the prefilter sponge. Place sponges in a bag or bucket of tank water to avoid releasing debris.
-
Rinse the media in tank water. Use siphoned tank water to rinse bio-rings and sponges until the water clears. Squeeze the sponges a few times and replace the rinse water as needed.
-
Replace any disposable media. Throw away fine filter floss or used activated carbon. Install fresh media as recommended by the filter maker.
-
Clean the housing. Rinse the filter housing and the impeller with plain water. Use a toothbrush to remove slime, but avoid soap or detergents.
-
Reassemble the filter carefully. Keep the media wet while reassembling. Follow the manufacturer’s instructions. If you removed water, refill the tank and start the filter again.
-
Do a post-clean check. Watch for flow and expect some cloudiness. Test ammonia and nitrite in 24–72 hours to check stability.
-
Record your service. Note which component you cleaned and plan the next cleaning. If you have multiple sponges or filters, clean a different one next time to protect beneficial bacteria.
Remember to stay safe. Never leave fish without filtration for more than 8–12 hours. Avoid cleaning all filters at once, as this can stress your tank and harm biological filtration.
Make cleaning your filter a routine. Learning how to clean filters properly saves time and keeps your aquarium stable. Use these tips to extend media life and protect your system.
Alternative Cleaning Techniques
There are many ways to clean filters without harming the biofilter. A UV sterilizer kills free-floating pathogens and green water with ultraviolet light. But remember, it doesn’t remove biofilm from media. So, use it with other cleaning steps when needed.
Ammonia neutralizers and water conditioners help if beneficial bacteria drop. Always follow the product instructions. These products remove ammonia, nitrite, chlorine, and chloramine, keeping fish safe while bacteria recover.
Commercial beneficial bacteria supplements can help after cleaning or adding new filter material. Use them as directed to speed up recovery and keep your nitrogen cycle steady.
If fish get sick, quarantine them and use targeted medication or antibiotics. Use UV sterilizers or medicated baths carefully. They can reduce biofilter bacteria and change your system’s balance.
Mechanical aids make cleaning easier and gentler. A gravel vacuum siphons tank water for rinsing media and removing debris. You can reuse this water on houseplants as a mild fertilizer.
- Stagger cleanings of sponges and cartridges so only one is rinsed each cycle. This rotational approach preserves overall bacterial load.
- Limit use of antibiotics and strong sterilizers to clear outbreaks. Those methods change microbial communities and should be a last resort.
Use these effective filter maintenance methods as a toolbox. Combine physical cleaning, selective chemical aids, and biological supplements to maintain steady water quality. Test your water often and adapt your plan when parameters shift.
Preventive Maintenance for Filter Longevity
Keeping your filter in top shape is easy with a few simple steps. Start by checking the intake weekly and noting the flow rate. Also, test for ammonia, nitrite, and nitrate levels. This helps catch problems early and keeps your tank healthy.
For monthly upkeep, swap out disposable media like activated carbon and filter floss. Rinse prefilter sponges in tank water to keep beneficial bacteria alive. These steps prevent clogs without harming your biofilter.
Every three to six months, give your canister media a deeper clean. This depends on your tank’s bioload and the manufacturer’s advice. Clean impellers and housings with water and a soft toothbrush. Always follow the disassembly instructions to avoid damage.
- Keep mechanical, chemical, and biological stages balanced in your setup.
- Steady water parameters protect bacterial colonies.
- Log and schedule tasks to avoid over-cleaning.
When replacing sponges or pads, save a piece of the old media. This helps seed bacteria and speeds up recovery. If you have multiple filters, rotate which one you clean to maintain biological function.
- Avoid overfeeding and remove uneaten food quickly to reduce filter stress.
- Clean impellers with plain water to avoid chemical residue.
- Replace old media at the recommended intervals.
Learn the right way to clean your filter to protect your fish and bacteria. Stick to a routine, track your tasks, and choose high-quality filters. These steps make filter maintenance easy for all hobbyists.
Troubleshooting Common Filter Issues
First, do a quick visual check. Look for kinks in hoses, loose fittings, or air in canister filters. Make a note of what you find to help solve problems later.
If the filter is slow, try simple fixes. Clean the prefilter sponge and impeller with tank water. Check intake screens and ensure tubing is straight. For canisters, seal and prime if air is trapped.
Cloudy water after cleaning is usually temporary. It should clear up in a few hours. This happens when you clean filters right and avoid rinsing all biological media at once.
Test water for ammonia and nitrite if it’s cloudy or you suspect a spike. If levels are high, do partial water changes. Add a bacterial supplement or an ammonia neutralizer as a quick fix.
- Clean impellers and housings to stop noise and vibration.
- Replace worn sponges or pads; keep small pieces in the tank to seed new media for 4–6 weeks.
- If clogging is frequent, re-evaluate feeding habits and add a pre-filter sponge or larger filter for the bioload.
Follow a diagnostic routine: inspect visually, test parameters, and check equipment operation. Match each finding to corrective action and document results for future reference.
To prevent problems, adjust maintenance intervals, reduce feed amounts, and add live plants. Consider upgrading to a larger filter if your tank is overstocked.
Conclusion: Maintaining a Thriving Ecosystem
Remember, the key is to protect beneficial bacteria. Rinse biological media in aquarium water, avoiding chlorinated tap water or soap. Clean only part of your filtration at a time. This keeps the bacteria that power the nitrogen cycle healthy, ensuring your fish stay well.
Balance is essential. Regular, moderate cleaning keeps your mechanical filter working well while protecting the biological filter. Use partial water changes and staggered media cleanings to avoid losing too much bacterial mass at once.
Keep a cleaning schedule and a maintenance log. Regularly test your water and use bacterial supplements or ammonia neutralizers only when needed. These steps help maintain a thriving aquarium ecosystem.
By following these best practices and the tips in this guide, you can keep your water clear and your aquarium ecosystem stable. This will ensure a healthy environment for your fish and plants.
Leave a Reply