Resetting a nano tank means taking it apart and starting over. You remove everything, including water, substrate, and even fish. This is more than just cleaning up.
Do a full rescape for a big change or when water quality suffers. It’s also good for swapping out old equipment or when the tank’s ecosystem fails. If algae keeps coming back or the substrate is too dense, it’s time for a reset.
Full rescapes are big deals, so don’t do them too often. In the U.S., most people reset their tanks once a year. For daily care, focus on water changes, filter upkeep, and trimming plants.
This guide will help you through the process. You’ll learn about planning, draining, cleaning, and choosing new substrate and decorations. You’ll also find out how to replant, refill, and cycle the tank. Plus, how to safely add fish and invertebrates back in. With careful planning and a temporary quarantine, you can make the transition smoother and increase your chances of success.
Understanding the Importance of Resetting Your Nano Tank

Resetting a nano tank is more than just a new look. It’s needed for big changes like new plants, stones, or substrate. Serious dirt buildup can hide under the surface, out of reach of regular cleaning.
Replacing big equipment like filters or heaters often means a full breakdown. This gives you full access to the tank.
Your fish and shrimp’s health should guide your decision. If the work will take a long time, moving them to a holding tank is best. This reduces stress and risk of injury or disease.
It’s risky to move a filled nano tank. Draining and moving dry parts prevents spills and stress on animals. It also protects glass and seals from damage.
When you restart a nano tank, biology is key. A full teardown can upset the biological balance. This can lead to spikes in ammonia and nitrite. It’s important to save or transfer filter media to keep beneficial bacteria.
Big rescapes are not for routine maintenance. They should only be done when really needed. Regular care and small water changes can keep most tanks healthy without a full reset.
- Core reasons to reset: redesigns, deep detritus removal, major equipment replacement.
- Welfare: use a holding tank for prolonged work to protect fish and shrimp.
- Moving the tank: disassemble and transport dry parts to lower risk.
- Biological caution: preserve media to reduce ammonia/nitrite spikes when restarting a nano tank.
- Frequency: limit full rescapes to essential situations to protect biological balance.
Knowing when and why to reset helps you plan better. Good planning protects your fish, speeds up recovery, and avoids surprises during maintenance and care.
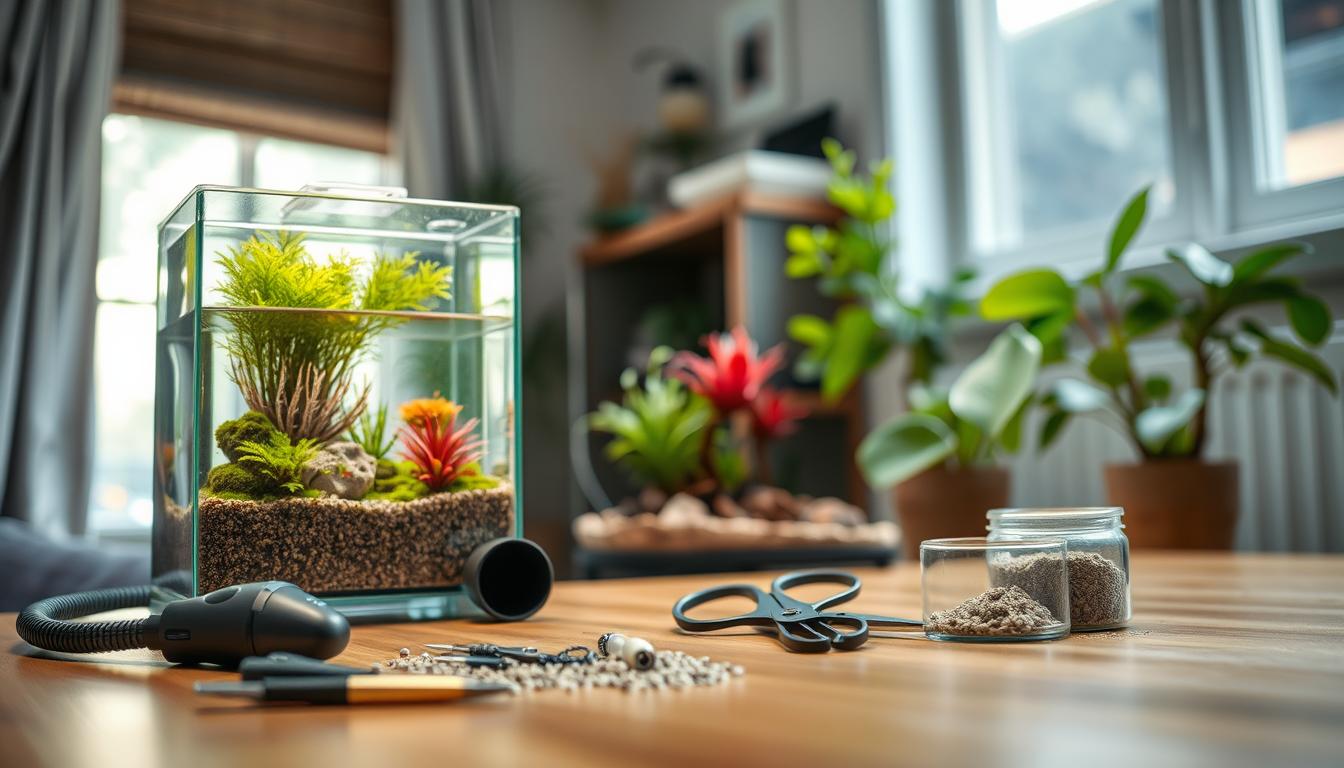
Preparing for a Full Rescape

Begin by getting a temporary aquarium for your pets. A 5-gallon glass tank from Petco or PetSmart is perfect for small animals. It keeps them safe while you work on the main tank.
Set up a simple filter and aeration in the temporary tank. Use a sponge filter and an air pump for gentle filtration and oxygen. If you’ll keep animals for more than a day, seed the sponge filter in advance.
Move the heater to the temporary tank when you start. Make sure the temperature is the same as the main tank to avoid shock. Use a reliable heater from Eheim or Fluval if needed.
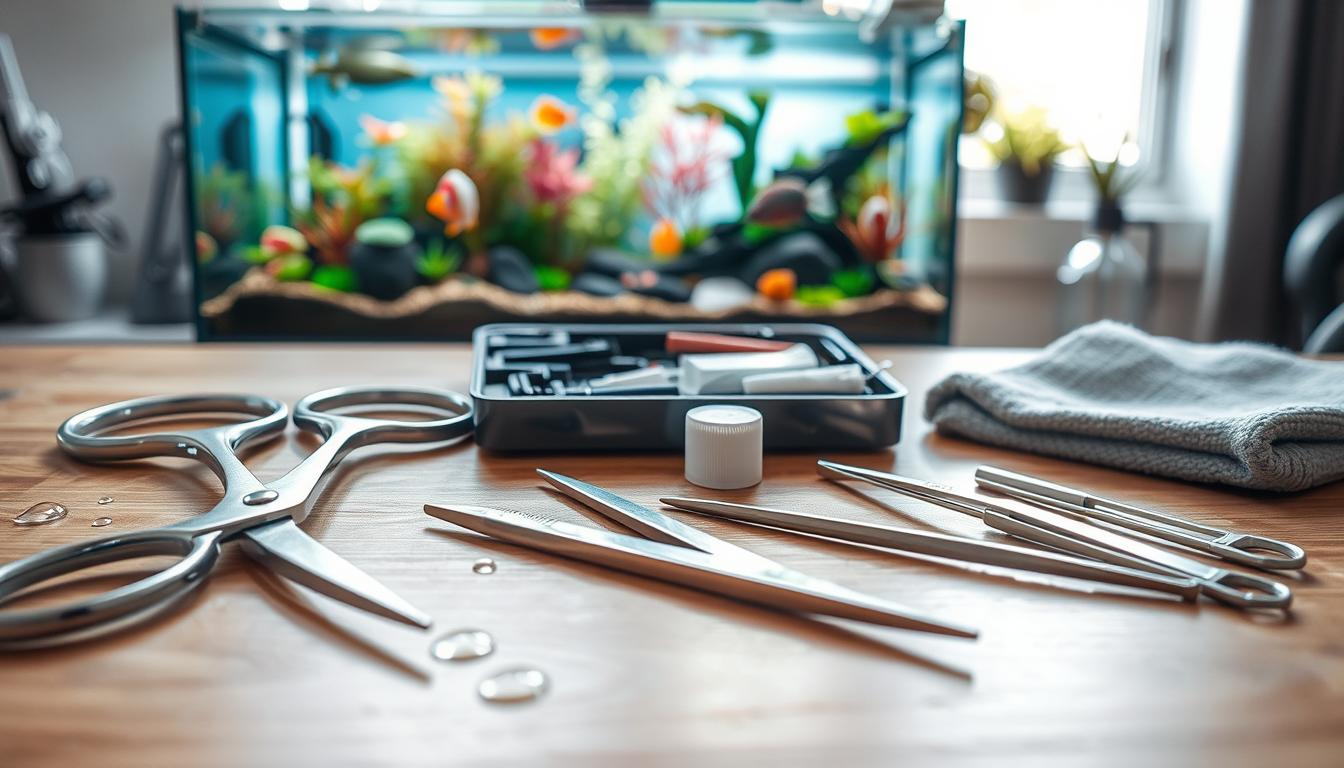
- Nets, buckets, and water conditioners (Seachem Prime or API Stress Coat)
- Syringes or a small siphon for precise water moves
- Plant containers such as glass baking dishes or Tupperware
- Trimmed scissors, plant weights, and cyanoacrylate gel for attaching Anubias or small rhizome plants
- Substrate buckets and spare sponge filter or seeded media
- Paper towels or cloths and aquascaping tweezers
Plan a timeline to avoid stress and mistakes. Try to do the job over two days. Day one is for removing plants and animals to the temporary tank. Day two is for cleaning, rearranging, and refilling the main tank.
If you need a longer quarantine, seed beneficial bacteria early. Install a sponge filter weeks before to let bacteria grow. Or, keep biological media moist in the temporary tank.
Be gentle when handling animals. Remove plants first to protect fish. Separate plants by species and label them for easy replanting. Use nets carefully for fish, and scoop shrimp and snails gently.
Follow these tips to reduce stress and keep your tank’s biology stable. Proper preparation and supplies make the rescape smoother for you and safer for your pets.
Step-by-Step Guide to Draining Your Nano Tank
Begin by draining half the water. This makes it easier to remove plants and access the tank. It also keeps enough water for your fish temporarily.
Next, take out dense plants. Gently pull them from the base to save the roots. Place similar plants in shallow containers with some tank water to keep them moist.
Then, net your fish into a quarantine tank. Start by removing hiding spots to make them easier to catch. Move snails and shrimp by pouring water through a fine net into the holding tank.
Transfer the heater and filter media to the quarantine tank. This helps keep beneficial bacteria alive. Remove pumps and loose filter parts for cleaning later.
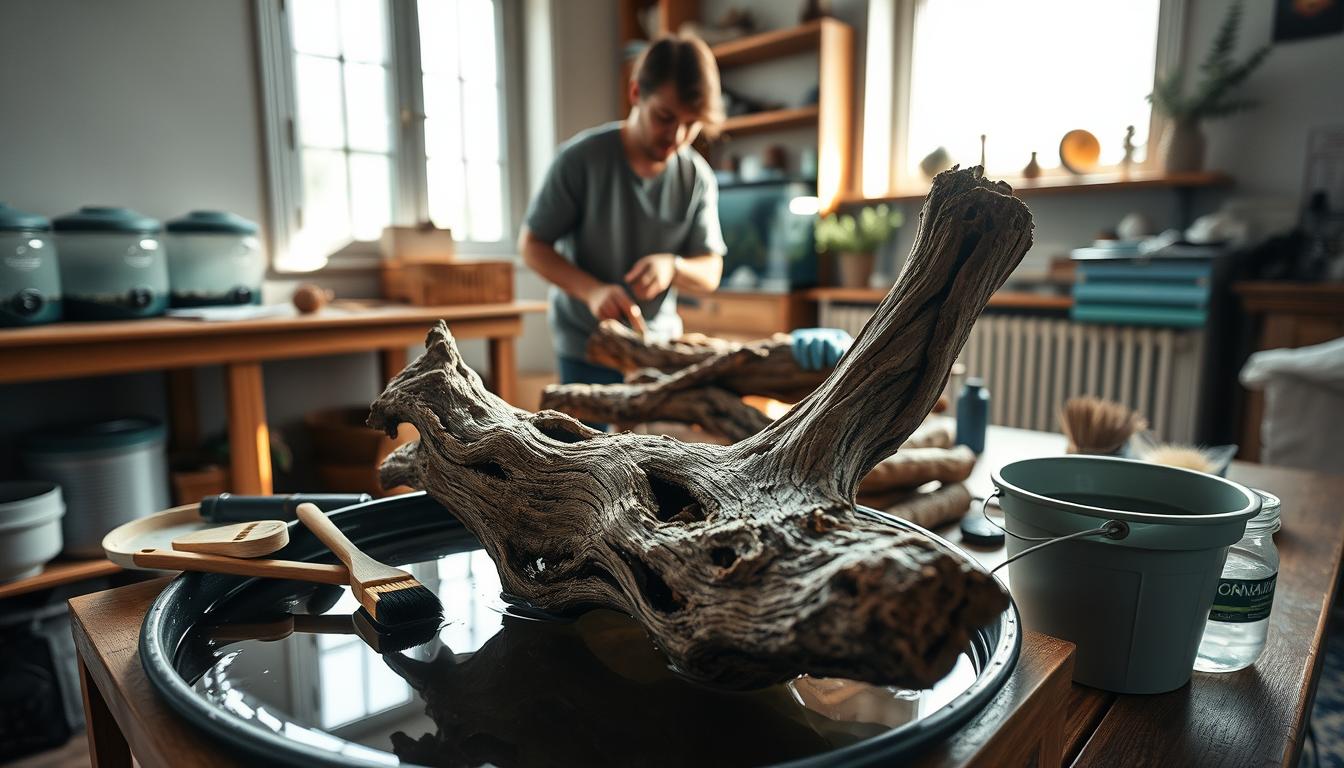
Now, scoop the substrate into buckets. Once most of it is out, remove driftwood, rocks, and other decorations. Be ready to find leftover muck and small animals.
Empty the tank by siphoning out the remaining water and sludgy detritus. Use a gravel vacuum or siphon hose until it’s mostly clean. Wear gloves for extra protection during cleaning.
Work with a partner if you need to lift things. Have towels ready. Clean in a space like a bathroom or driveway if rinsing outside. These steps help you clean your nano tank safely and efficiently.
Cleaning the Tank and Equipment
Empty your nano tank and move compact aquariums like the Fluval Spec outside for a rinse. Use a garden hose to remove caked muck and loose substrate. For hard water rings, use an aquarium-safe scraper or vinegar soak, then rinse until clean.
Clean filters and pumps by flushing flow tubes and impellers with fresh water. Don’t boil or use soap on motor parts. For mineral buildup, a diluted vinegar soak helps; rinse well after.
Decide whether to reuse, replace, or wash substrate before regraveling. Some substrates, like Seachem Flourite, cloud heavily and need careful rinsing. Active aquasoils often leach ammonia and are usually replaced.
Scrub driftwood and rocks to remove stubborn biofilm. A brief soak in dechlorinated water helps. For tough deposits, a dilute bleach bath works on non-porous stone or cured wood; rinse until scent is gone. Avoid bleach on fragile, porous decor unless fully neutralized.
- Avoid detergents and household soaps; use only water, vinegar, or aquarium-safe products.
- Rinse everything multiple times to remove chemical traces.
- Dry outer surfaces and inspect silicone seams for damage before refilling.
After cleaning, check seals and repair any worn silicone to prevent leaks. Good nano tank care at this stage reduces future headaches and keeps your setup healthy and stable for the next planting and stocking phase.
Choosing New Substrate for Your Nano Tank
Choosing the right substrate is key for your nano tank’s look and function. Options like ADA Aqua Soil Amazonia, Tropica Soil, or Dennerle are rich in nutrients, supporting plant growth. These soils may cause ammonia spikes or color changes, so plan a longer conditioning period before adding fish.
For a quicker setup, inert substrates like pre-washed sands or gravels are good. They don’t leach nutrients, allowing for faster replanting and fish introduction. Mixing old substrate with new inert material can also speed up the tank’s recovery.
- Seachem Flourite: mineral-rich, may cloud if not rinsed well.
- Aquasoils (ADA, Tropica, Dennerle): nutrient dense, may leach initially.
- Up Aqua Aquasand and inert sands/gravels: low maintenance, fast rescape friendly.
- Laterite or peat granules: add for root feeding under planted substrates.
Consider the planting needs and slope requirements when selecting substrate grain size. Fine-grain substrates are better for creating stable slopes and supporting carpeting plants. Coarser gravels are harder to shape and less suitable for small plants.
For long-term stability, choose proprietary planted substrates with good cation exchange capacity. These substrates provide steady nutrients to plants over time. Always follow nano tank guidelines for handling and rinsing to prevent water-quality issues during the first days after a rescape.
Preparation is key. Rinse clouding substrates like Flourite until the water is clear. For aquasoils, consider pre-washing or follow the manufacturer’s instructions. If using active soil, allow extra time for cycling and monitor ammonia and nitrite levels.
- Decide on planting goals: fast replanting or long-term growth.
- Match grain size to plant types and slope plans.
- Mix seeded substrate when you need biological continuity.
- Rinse or condition substrates to reduce initial leaching.
When choosing substrate for your nano tank, balance aesthetics, plant needs, and timing. Follow these guidelines to avoid surprises and ensure a smooth return to a healthy aquarium.
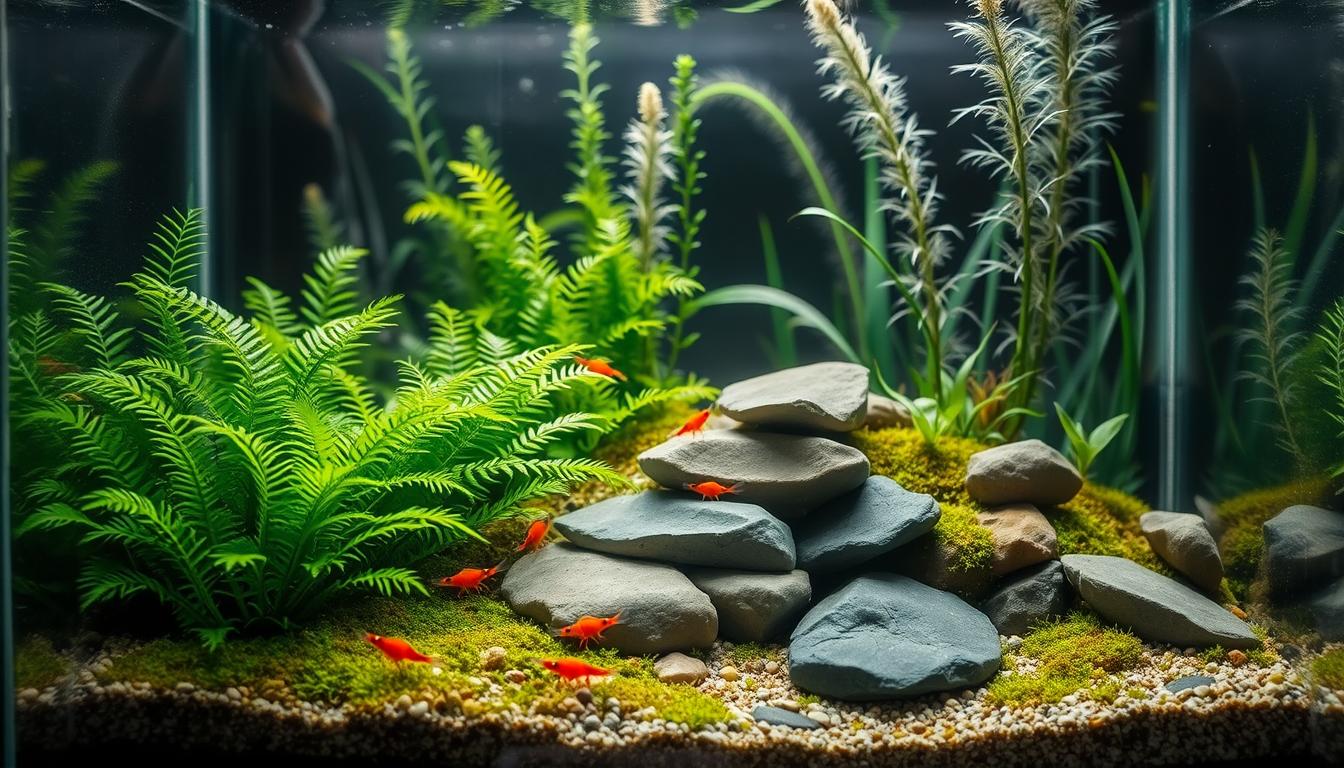
Selecting Hardscape Elements for Your Layout
Begin by picking driftwood and rocks that fit your dream. Driftwood adds a natural touch. Lava rock offers a porous feel, while Seiryu or dragonstone adds dramatic lines. Smooth river stones bring calm contrast.
These choices help you decide where to place plants. They guide the flow in your nano tank setup.
Build your design outside the tank first. Attach driftwood to eggcrate panels or test heavy pieces. Use aquarium-safe glue for plants on rocks. A dry run helps avoid surprises when you add items to water.
Think about weight and stability in small spaces. Use epoxy or stainless hardware to secure tall pieces. This keeps your layout steady and safe for fish and plants.
Plan the depth, slope, and planting spots. Make room for foreground, midground, and background plants. Position rocks and wood to hide equipment without blocking water flow.
Leave enough space for easy maintenance. This improves the health of your aquascape.
Clean and treat your hardscape before adding it. Soak wood and scrub rocks to remove dirt. Avoid limestone or coral unless you want higher GH and pH.
Get materials from trusted vendors or local stores. Avoid unknown wood without verification. Brands like Seachem and API offer tested driftwood and rocks.
- Use eggcrate grids to anchor driftwood in tight spaces.
- Pre-glue plant attachments and test placement dry.
- Choose rock types based on texture, color, and chemical impact.
Follow these steps to create a stable, beautiful hardscape. Careful selection and preparation prepare your tank for planting and a healthy life.
Implementing Live Plants in Your Tank
Before replanting, prepare your plants. Trim long roots and remove any yellowed leaves. Cut stem species back to healthy growth points to encourage new shoots.
Break clumped Cryptocoryne into several parts to spread them across your tank. This helps cover the layout evenly.
Place plants in shallow glass dishes or food-safe Tupperware with a bit of tank water. Grouping plants by species makes replanting faster and keeps them healthy during the reset.
- Use plant weights for tall stems like Bacopa caroliniana to stop them from floating.
- Attach Anubias nana petite to rocks with a dab of cyanoacrylate gel; wait for the rhizome to attach before burying.
- Secure small crypts and carpeting plants with aquascaping tweezers and a gentle push into substrate.
Add an inch of water above the lowest substrate points to hold plants in place. Use tweezers to place roots precisely without disturbing the hardscape. This method is less stressful for plants and reduces transplant shock.
Choose plants that match your lighting and CO2 levels. Anubias and Cryptocoryne do well under moderate light without CO2. For bright areas, use hairgrass or dwarf sagittaria with high light and nutrient-rich substrate. Select plants that fit your nano tank setup for stable growth.
Reuse healthy parts of removed plants to speed up reestablishment. Discard any diseased or decayed parts to protect water quality. Gentle handling and quick replanting limit shock and protect your tank’s inhabitants during the reset.
Live plants do more than look good. Freshly replanted foliage provides new surfaces for beneficial bacteria. This helps stabilize water chemistry while your tank cycles after a reset. Applying these nano tank tips will speed recovery and improve long-term health.
After planting, follow simple care steps. Monitor water parameters daily, keep light consistent, and trim fast growers to maintain balance. These routines protect your investment and keep your tank looking intentional and thriving.
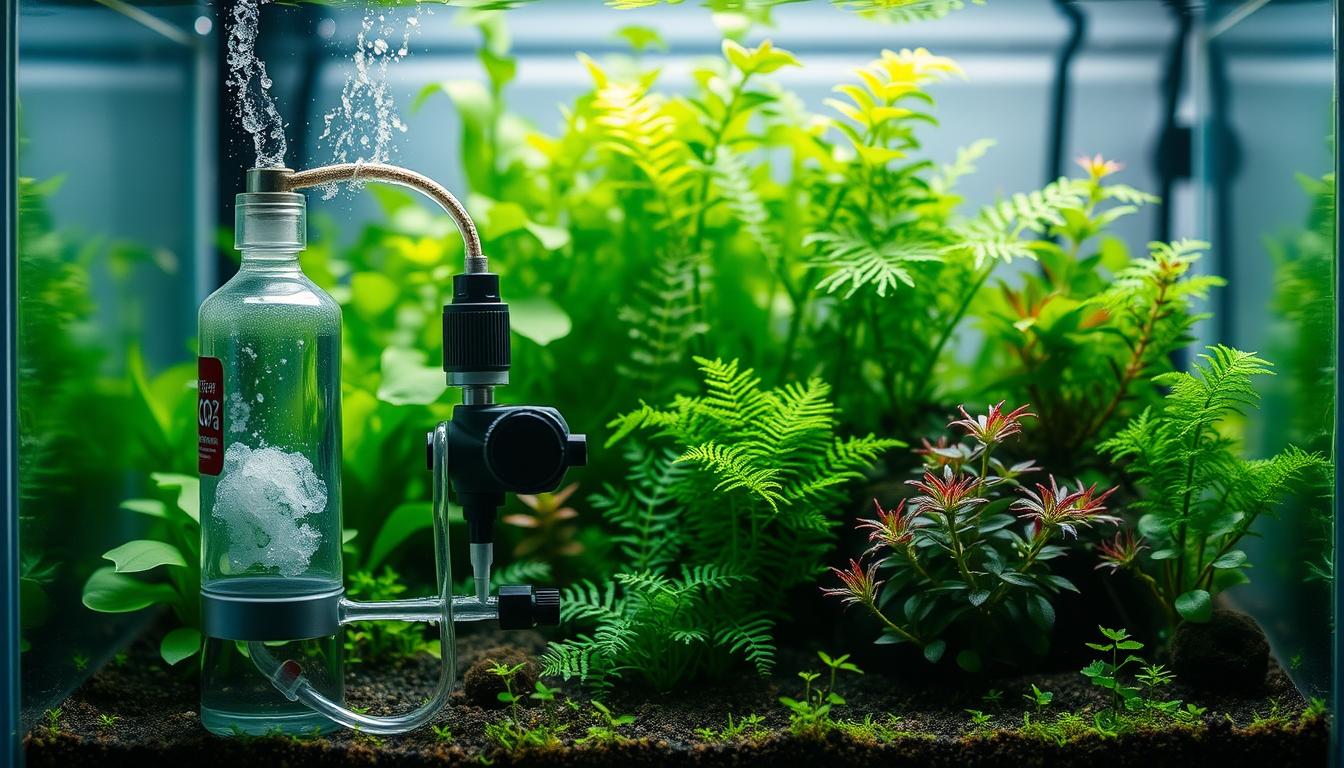
Adding Water and Aquascaping
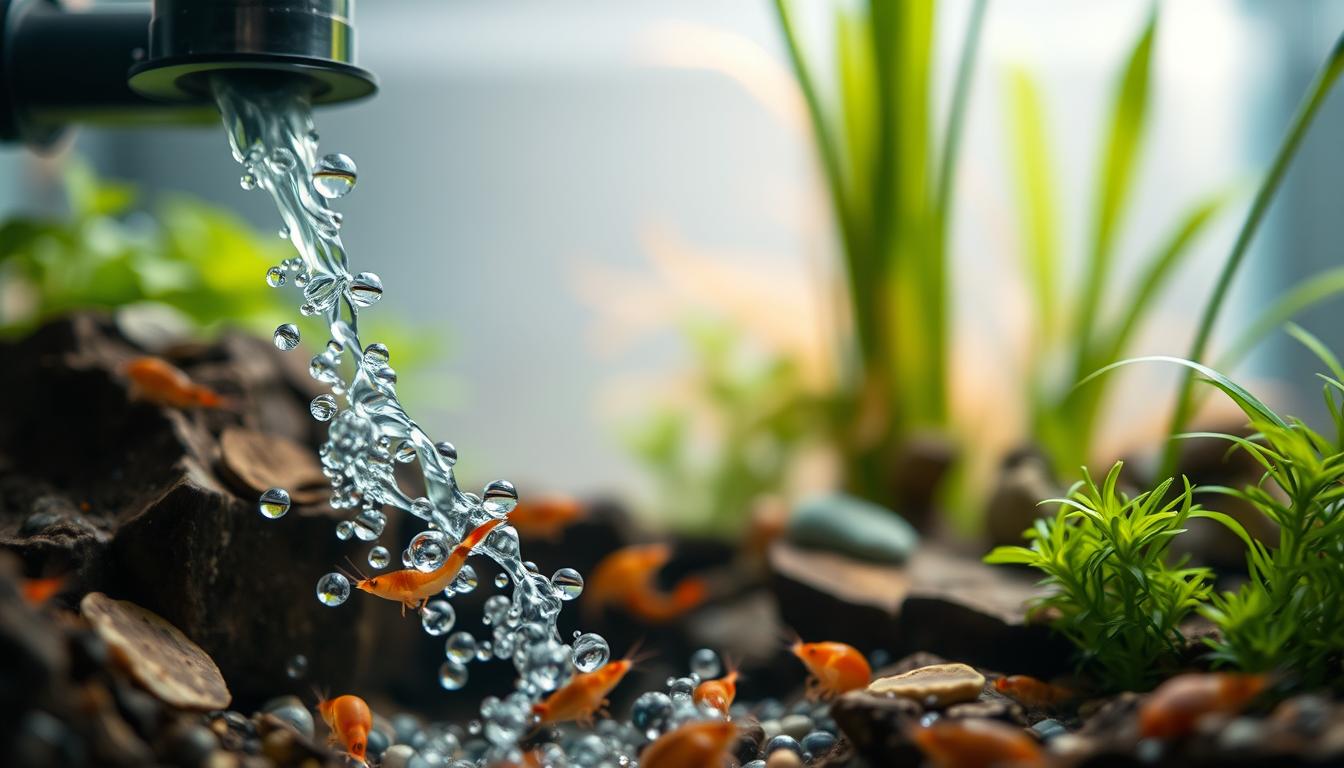
Start by adding water slowly to keep plants and substrate in place. Use a siphon or pour into the filter section for a gentle flow. This careful approach prevents plants from being uprooted and keeps the water clear.
Use a reputable conditioner to treat tap water. This removes harmful chemicals and prepares the water for your tank. Try to match the water’s temperature and pH to your quarantine or seed tank. This helps plants adjust better and keeps the tank stable.
Once the tank is partly filled, put back the pump, filter media, and heater. Move seeded filter media and sponges to your main filter. This keeps beneficial bacteria and ensures a smooth transition.
Be ready for a brief ammonia spike if you’ve used fresh substrate. Test the water daily for ammonia, nitrite, and nitrate in the first week. Keeping seeded media helps control spikes and speeds up recovery.
Make your final aquascaping touches when the water is deep enough. Use tweezers and spatulas to adjust plants carefully. Add plant weights and gently move driftwood or rock to avoid stressing plants.
Take your time during this stage. Rushing can harm plants and cloud the water. This makes nano tank care harder and stresses your fish. Slow, careful steps lead to better results.
Keep a record of your work with before-and-after photos. These photos help you see changes and spot problems like algae. Good records make future resets easier and improve your tank’s health over time.
Introducing Fish and Invertebrates Post-Reset
Wait for stable readings before you move livestock back. Aim for ammonia and nitrite near zero and low nitrate. If you saved seeded media or sponge filters, you may be able to reintroduce sooner, but test daily while restarting a nano tank.
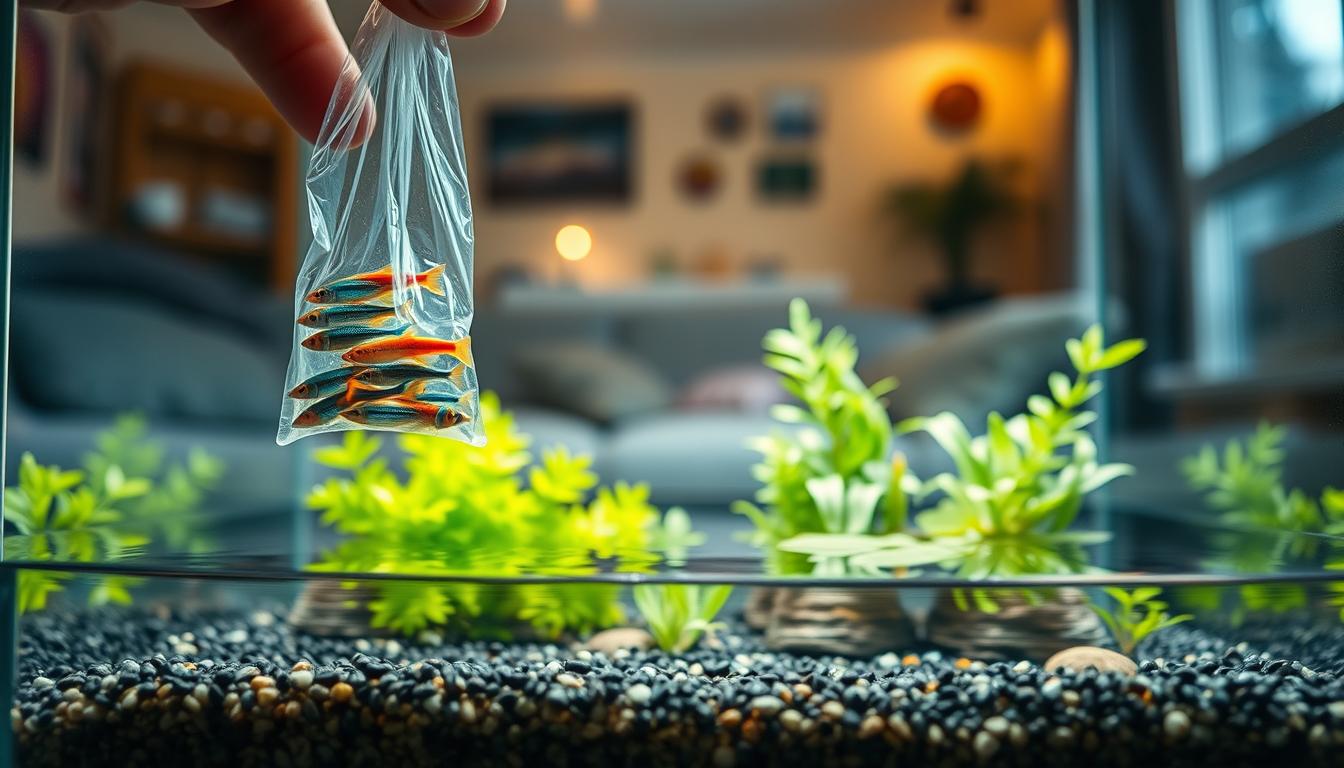
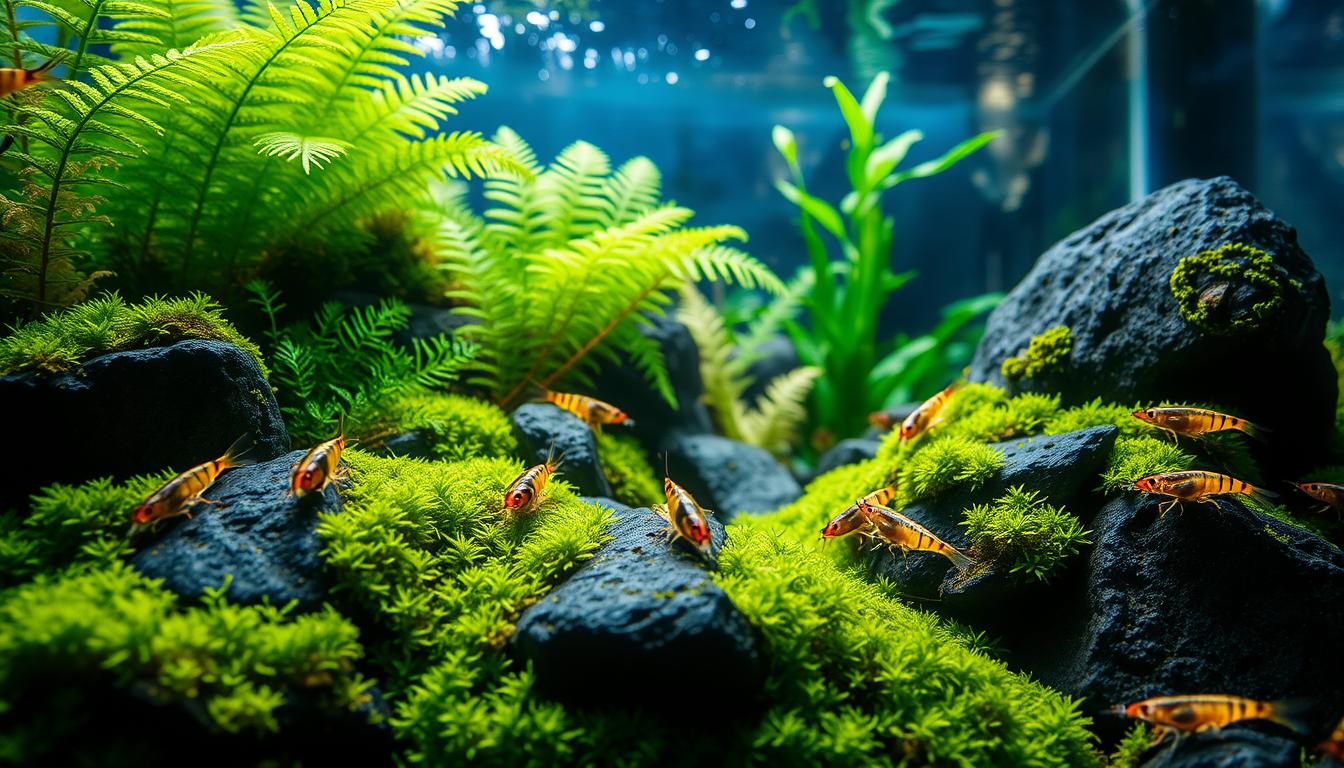
When conditions are steady, transfer fish, shrimp, and snails from quarantine into the display. Use a net or a pour-through method for tiny shrimp like Neocaridina davidi. Match temperatures and water chemistry slowly so you avoid shock.
- Acclimate over 15–30 minutes if parameters differ.
- Reattach filter sponges or media to keep beneficial bacteria strong.
- Place shy or stressed animals into sheltered areas with plants or hardscape.
Observe your tank closely for the first 24–72 hours. Look for signs of stress, unusual behavior, or mortality. Verify that pumps, heaters, and filters run correctly and that flow does not overwhelm small invertebrates.
Shrimp need special care. Use fine nets or pour-through-nets to prevent escapes. Keep flow low near their grazing zones and keep hiding places available. These steps follow basic nano tank guidelines for fragile species.
Do not add new animals until test results remain stable for several days. Consider a gradual reintroduction schedule for delicate species to reduce risk and to keep biological load manageable while restarting a nano tank.
- Test ammonia, nitrite, nitrate daily for a week after reintroduction.
- If levels spike, perform targeted partial water changes and reassess.
- Keep feeding minimal and observe waste buildup to protect water quality.
Stick to these nano tank care habits and you will support a calm recovery. Patient steps and steady testing protect your livestock and help your aquascape thrive after a full reset.
Performing Regular Maintenance After Resetting
After a full rescape, create a short-term plan to care for your tank. Test the water daily for the first week. Look for ammonia, nitrite, and nitrate levels. If they go up, do small water changes often to keep the balance.
Keep an eye on your plants as they grow back. Remove dead leaves and debris to stop algae. These steps help your plants recover and keep the water clean.
Make a weekly plan for tank upkeep. Change 10–30% of the water based on how many fish you have and nitrate levels. Gently vacuum the substrate to protect plant roots. Clean filter sponges in tank water to keep good bacteria.
Keep plant care simple and consistent. Trim fast-growing stems and use weights or glue to keep plants in place. Regular care stops overcrowding and keeps water chemistry good.
- Check pumps, flow tubes, and heaters for debris every two weeks.
- Rinse impellers and flow tubes in tank water to keep them working well.
- Replace old parts as the manufacturer suggests, from Fluval, Eheim, or AquaClear.
Keep a log of every water test, maintenance task, and treatment. A simple journal helps you see patterns and issues early. This habit is key for nano tank care.
Plan for long-term rescapes carefully. Use regular maintenance to avoid frequent full tank resets. With careful routines and gentle care, your tank’s layout and ecosystem will last longer.
Troubleshooting Common Issues Post-Rescape
After a nano aquarium reset, you might see spikes in ammonia or nitrite. This can happen when biological media gets disturbed or a new substrate starts to leach. Try to keep seeded filter media intact, reuse a sponge filter from the display if you saved one, and do partial water changes to dilute toxins. Adding a reputable bottled nitrifying bacteria can help speed up cycling and lessen stress on your fish during nano tank troubleshooting.
Cloudy water and substrate dust are common after replanting. If you used substrates like Flourite without a thorough rinse, let fine particles settle and run gentle mechanical filtration. Small, frequent water changes can help clear the water. For future resets, pre-wash the substrate to reduce this problem as part of your nano tank care routine.
Plant losses, melting, or slow recovery can be due to transplant shock, nutrient changes, or a mismatch in substrate. Cryptocoryne melt is common after disturbance. Remove dying leaves, keep lighting and nutrient dosing stable, and use root additives like laterite or nutrient tabs for heavy root feeders. Adding fast-growing stem plants can help stabilize nutrients and reduce algae during a nano aquarium reset.
Algae blooms and equipment flow problems can be caused by imbalanced nutrients or clogged intakes. Reduce light, perform targeted water changes, clean impellers and flow tubing, and preserve biological media during cleaning to avoid re-triggering cycles. If your fish show stress from temperature swings or water chemistry shifts, acclimate them slowly. Use a reliable water conditioner for chloramine removal, and consult a local fish store, experienced forums, or an aquatic veterinarian if instability or unexplained losses persist.
FAQ
What exactly does “resetting a nano tank” mean?
Resetting a nano tank means taking it apart and putting it back together. You remove all the fish and plants, drain the water, and clean or replace the substrate and decorations. Then, you put everything back in and let it cycle again. This is a big job, not just cleaning.
When is a full rescape appropriate versus routine maintenance?
You should do a full rescape for big changes or when the tank’s biological system fails. Routine maintenance like water changes and cleaning filters is enough for everyday care. But, rescapes are needed for major changes or serious problems.
How often should I perform a complete reset on a nano tank?
You don’t need to reset a nano tank often. Many people do it only once a year. Doing it too much can stress the fish and plants, so plan carefully.
How should I prepare livestock and plants before starting the reset?
First, set up a temporary tank for the fish and plants. Move the heater and filter media to this tank to keep the good bacteria. Then, carefully remove the plants and animals from the main tank.
What supplies should I have on hand before beginning?
You’ll need nets, buckets, water conditioners, and siphons. Also, have plant containers, scissors, weights, and a special gel for decorations. Don’t forget a test kit for water quality.
Should I schedule the reset across multiple days?
Yes, it’s best to do it over two days. Day one is for taking everything out and cleaning. Day two is for putting everything back and finishing the setup. This helps avoid mistakes and stress for the animals.
How do I remove substrate and hardscape safely without losing shrimp or snails?
Start by scooping out the substrate and removing big decorations. Then, tilt the tank to pour out the rest through a net to catch any shrimp or snails. Work slowly and keep the water shallow to prevent escapes.
How should I clean the empty tank and equipment?
Rinse the tank outside if you can. Use a hose and scraper for the glass, and vinegar for mineral deposits. Clean the pumps and tubes without using soap. Keep the filter media moist to preserve the good bacteria.
Can I reuse my existing substrate or should I replace it?
It depends on the substrate. You can reuse inert sands and gravels after rinsing. But, mineral substrates and active aquasoils might need to be replaced. If you’re in a hurry, use inert substrates or mix old and new substrate to keep the bacteria.
How do I sterilize or treat driftwood and rocks?
Start by scrubbing and rinsing the driftwood and rocks. For tough biofilm, soak them in dechlorinated water or use a weak bleach solution. But, make sure to rinse them well afterward. Avoid bleach on porous items without proper treatment.
What substrates work best for planted nano tanks and slopes?
Fine-grain sands and aquasands are great for slopes and carpeting plants. Aquasoils offer nutrients but can leach and need conditioning. Coarse gravel is easy to maintain but not good for carpeting plants. Choose based on your needs and the look you want.
What’s the recommended planting workflow during reassembly?
Start by adding a shallow layer of water to help with planting. Use tweezers to place the plants, and attach Anubias or Java fern to decorations with special gel. Use plant weights for stems and separate clumps for better spread. This order helps with reassembly and reduces uprooting.
How should I refill the tank to avoid disturbing the aquascape?
Refill the tank slowly, directing the water into the filter section or using a siphon. Match the temperature and use a water conditioner to remove chlorine and chloramine. It may take over an hour to refill a delicate setup without disturbing the plants or clouding the substrate.
How do I preserve biological filtration and avoid ammonia spikes after refilling?
Keep seeded sponge filters and filter media moist to preserve the good bacteria. Transfer them to the display tank once it’s partially filled. If you seeded a sponge filter in the display tank, use it to jump-start the biology. Test daily for ammonia and nitrite, and perform partial water changes if needed.
When is it safe to move fish, shrimp, and snails back into the display?
Wait until the water parameters are stable. This means no ammonia or nitrite and low nitrate. If you preserved the seeded media and sponges, you can return the animals sooner. But, always test the water daily. Gradual acclimation can help reduce stress if the water chemistry is slightly different.
What immediate post-reset testing and maintenance should I perform?
Test the water daily for the first week for ammonia, nitrite, and nitrate. Do small water changes if the parameters spike. Check that all equipment is working right. Trim plants as needed, watch for algae, and keep a maintenance log.
What common problems occur after a reset and how do I fix them?
Ammonia or nitrite spikes can happen. Preserve the seeded media, do partial water changes, and consider adding bottled bacteria. Cloudy water can be fixed by letting it settle, running the mechanical filter, or doing gentle water changes. Plant melting can be prevented by being patient and removing dying leaves. Algae blooms can be controlled by reducing light, adding fast growers, and maintaining water changes. Flow issues can be fixed by cleaning the impellers and tubes. Stress in animals can be managed by acclimating them slowly and checking for contaminants.
How should I handle red cherry shrimp and other small inverts during a reset?
Use nets for larger shrimp and pour tank water through a fine mesh to catch small shrimp and snails. Move the heater and seeded sponges to the quarantine tank to maintain stable bacteria. Shrimp are sensitive to flow and chemical residues, so avoid sudden changes in temperature or water chemistry.
Is it better to move the filled nano tank or disassemble it when relocating?
Moving a filled, inhabited nano tank is risky. It’s safer to disassemble and transport the tank components dry or mostly dry. If you must move the tank, move the animals to quarantine containers and transport the tank parts empty and secure.
When should I seek professional help after a reset?
If you face persistent water problems, unexplained deaths, or aggressive algae, seek help. A local aquarium shop, experienced hobbyist forum, or fish veterinarian can provide guidance. Professional advice is necessary for repeated failures or complex disease outbreaks.